Delta Force Campaign Chapter 6 N.S.D.Q: Complete Rescue Mission Walkthrough
Delta Force Chapter 6 N.S.D.Q plunges players into a thrilling nighttime Mogadishu rescue, blending tactical action with relentless suspense.
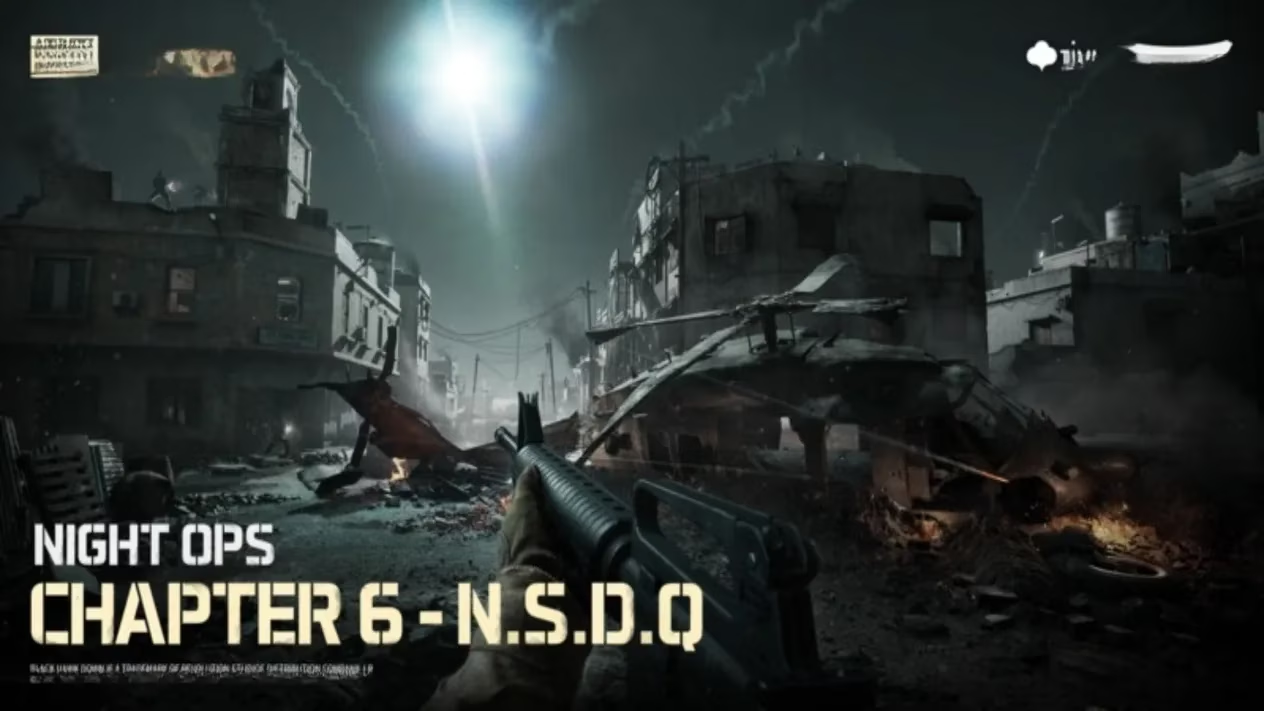
The night in Mogadishu is anything but silent. Explosions echo through the ruined cityscape, casting long, jagged shadows. In Delta Force's campaign, Chapter 6 "N.S.D.Q" throws you right into the heart of this chaos. Your mission is a desperate rescue operation: a team of fellow soldiers is trapped, surrounded by hostile forces, and you're their only hope. This isn't a sprint; it's a tense, methodical crawl through enemy territory, blending long-range precision with close-quarters combat in the crumbling remains of a besieged city. As the second-to-last mission in the main co-op campaign, the stakes are higher than ever.
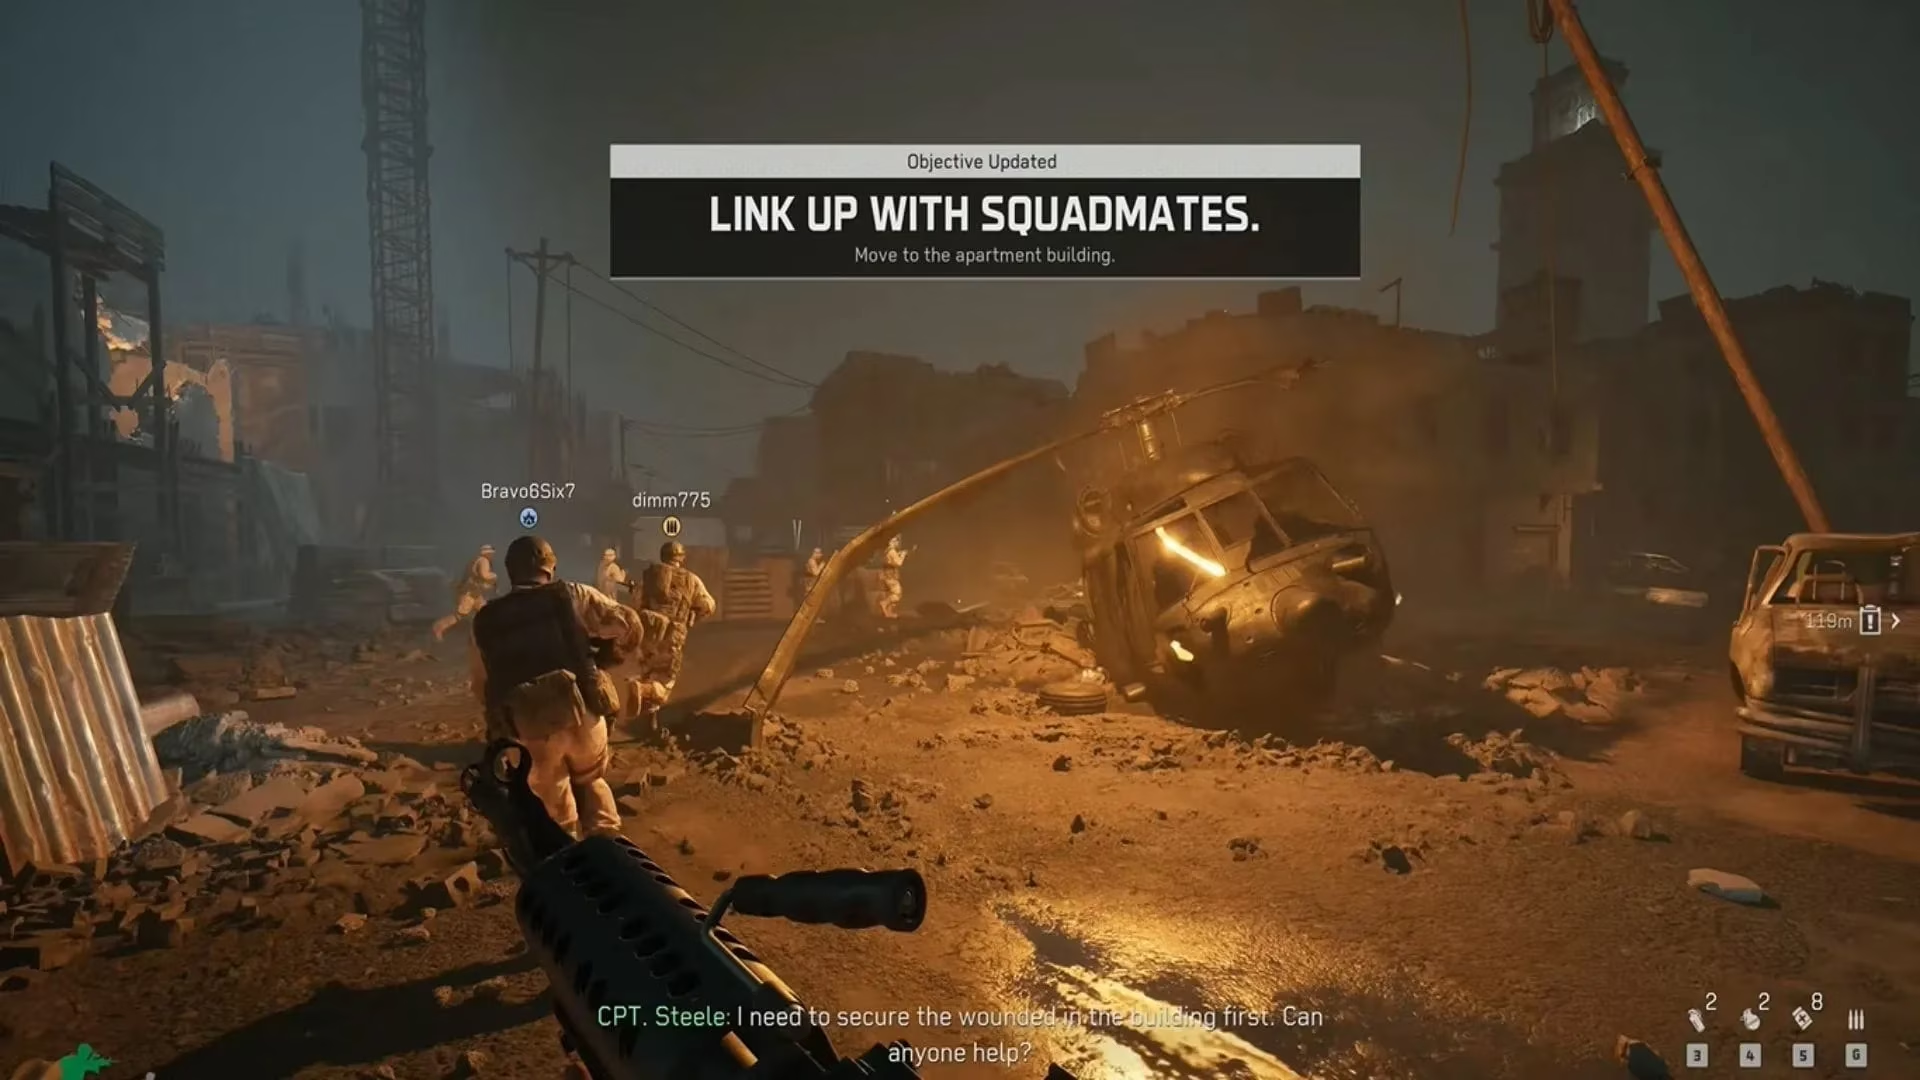
Your mission begins at a familiar, grim location: the helicopter crash site from a previous operation. 🚁💥 Surrounded by your squadmates, the first order of business is survival. Enemy mortar shells are raining down, making the open streets a death trap. Your path to safety leads through the skeletal frames of ruined apartment buildings. This initial push sets the tone: stay sharp, watch every window, and clear each room methodically.
-
First Contact: Inside the buildings, enemies will be waiting. They'll take potshots from windows and ambush you in dark hallways. Keep your weapon up and move carefully.
-
The Market Objective: Your initial goal is to reach an area called "Market." But getting there is only half the battle. Once you emerge into this open space, you'll be facing a plethora of enemies guarding a key asset. 😬
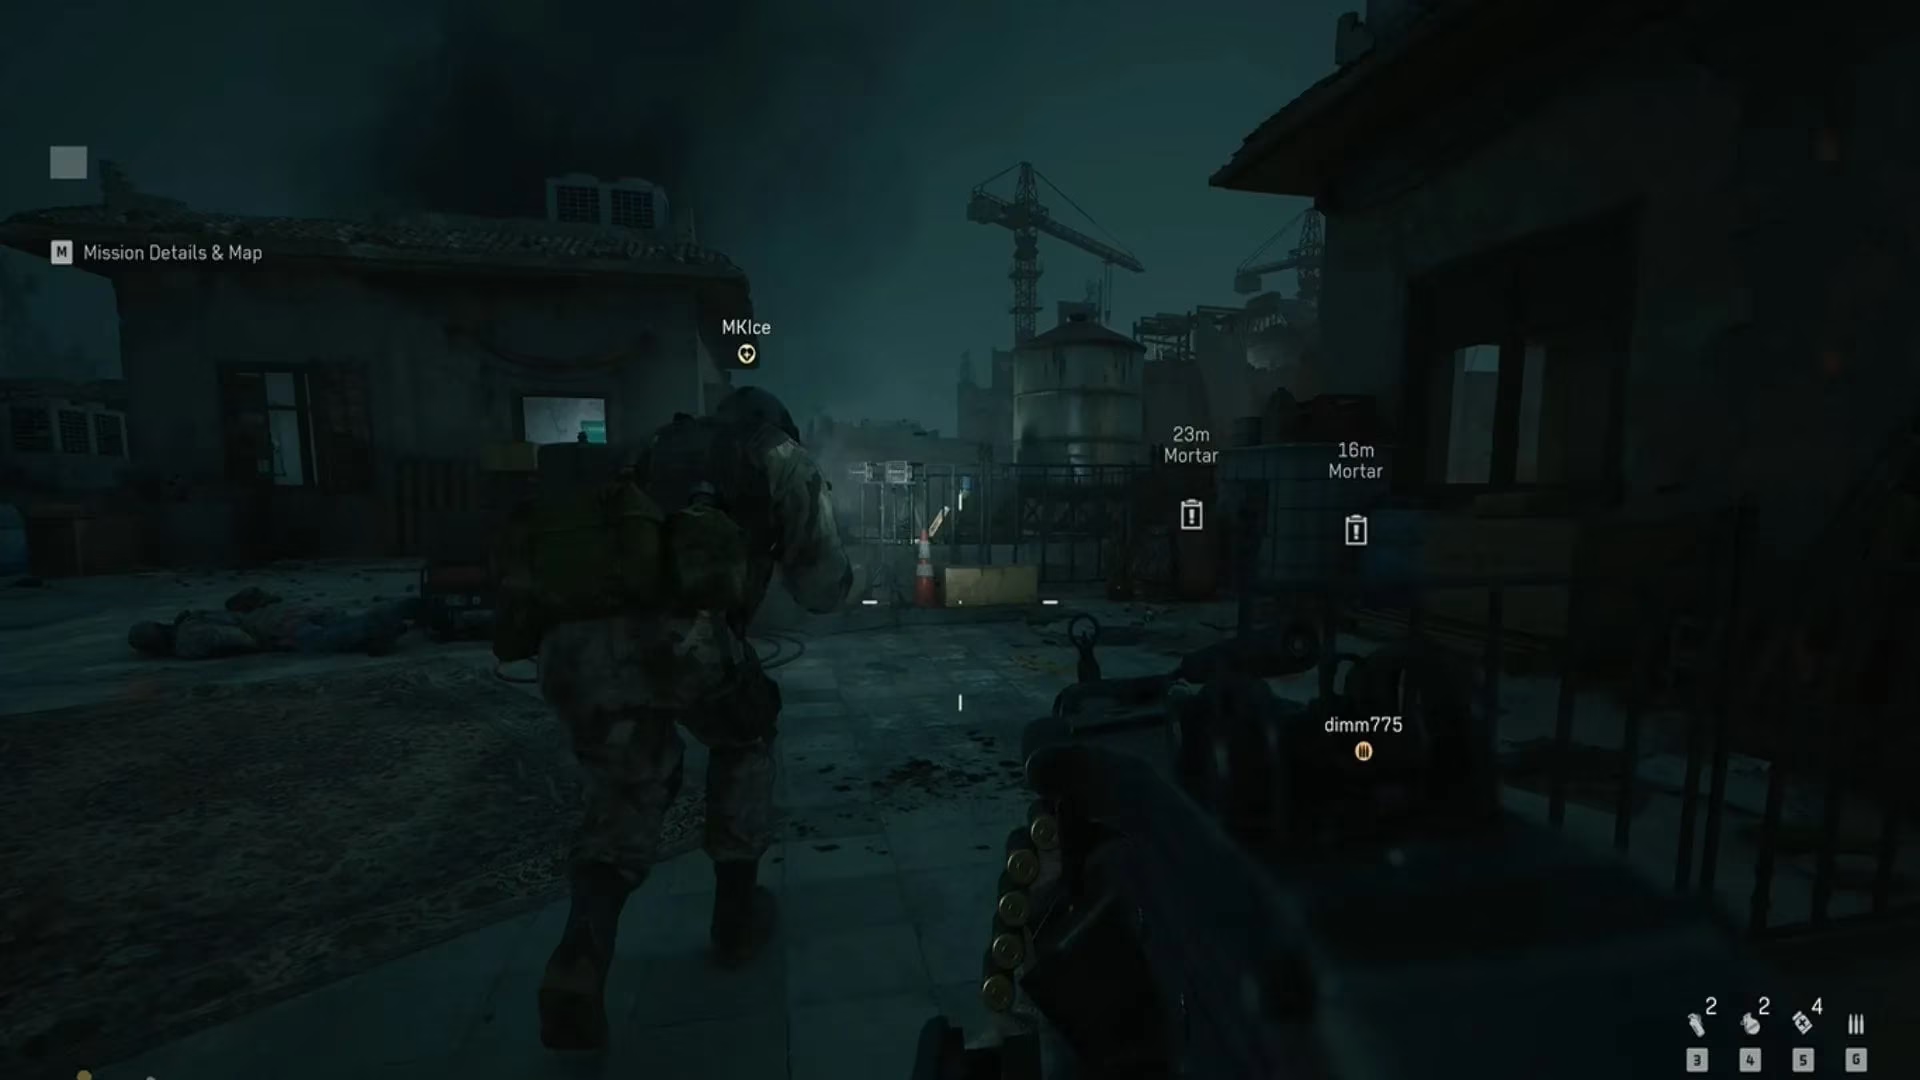
Approximately 130 meters away, nestled within the ruins, lies the source of your problems: enemy mortar positions. These weapons are pinning down both you and the team you need to rescue. You must push forward, eliminating the guards, to reach the apartment complex housing the mortar crews. The key is to get to the rooftop. Up there, you'll find the three operators manning the deadly tubes.
Neutralizing the mortar threat is non-negotiable. 🎯 This is a critical turning point. From your vantage point, you have a clear line of sight. Take them out with well-placed shots. Once the last operator falls, your objective updates. The path to your trapped allies is now (slightly) clearer.
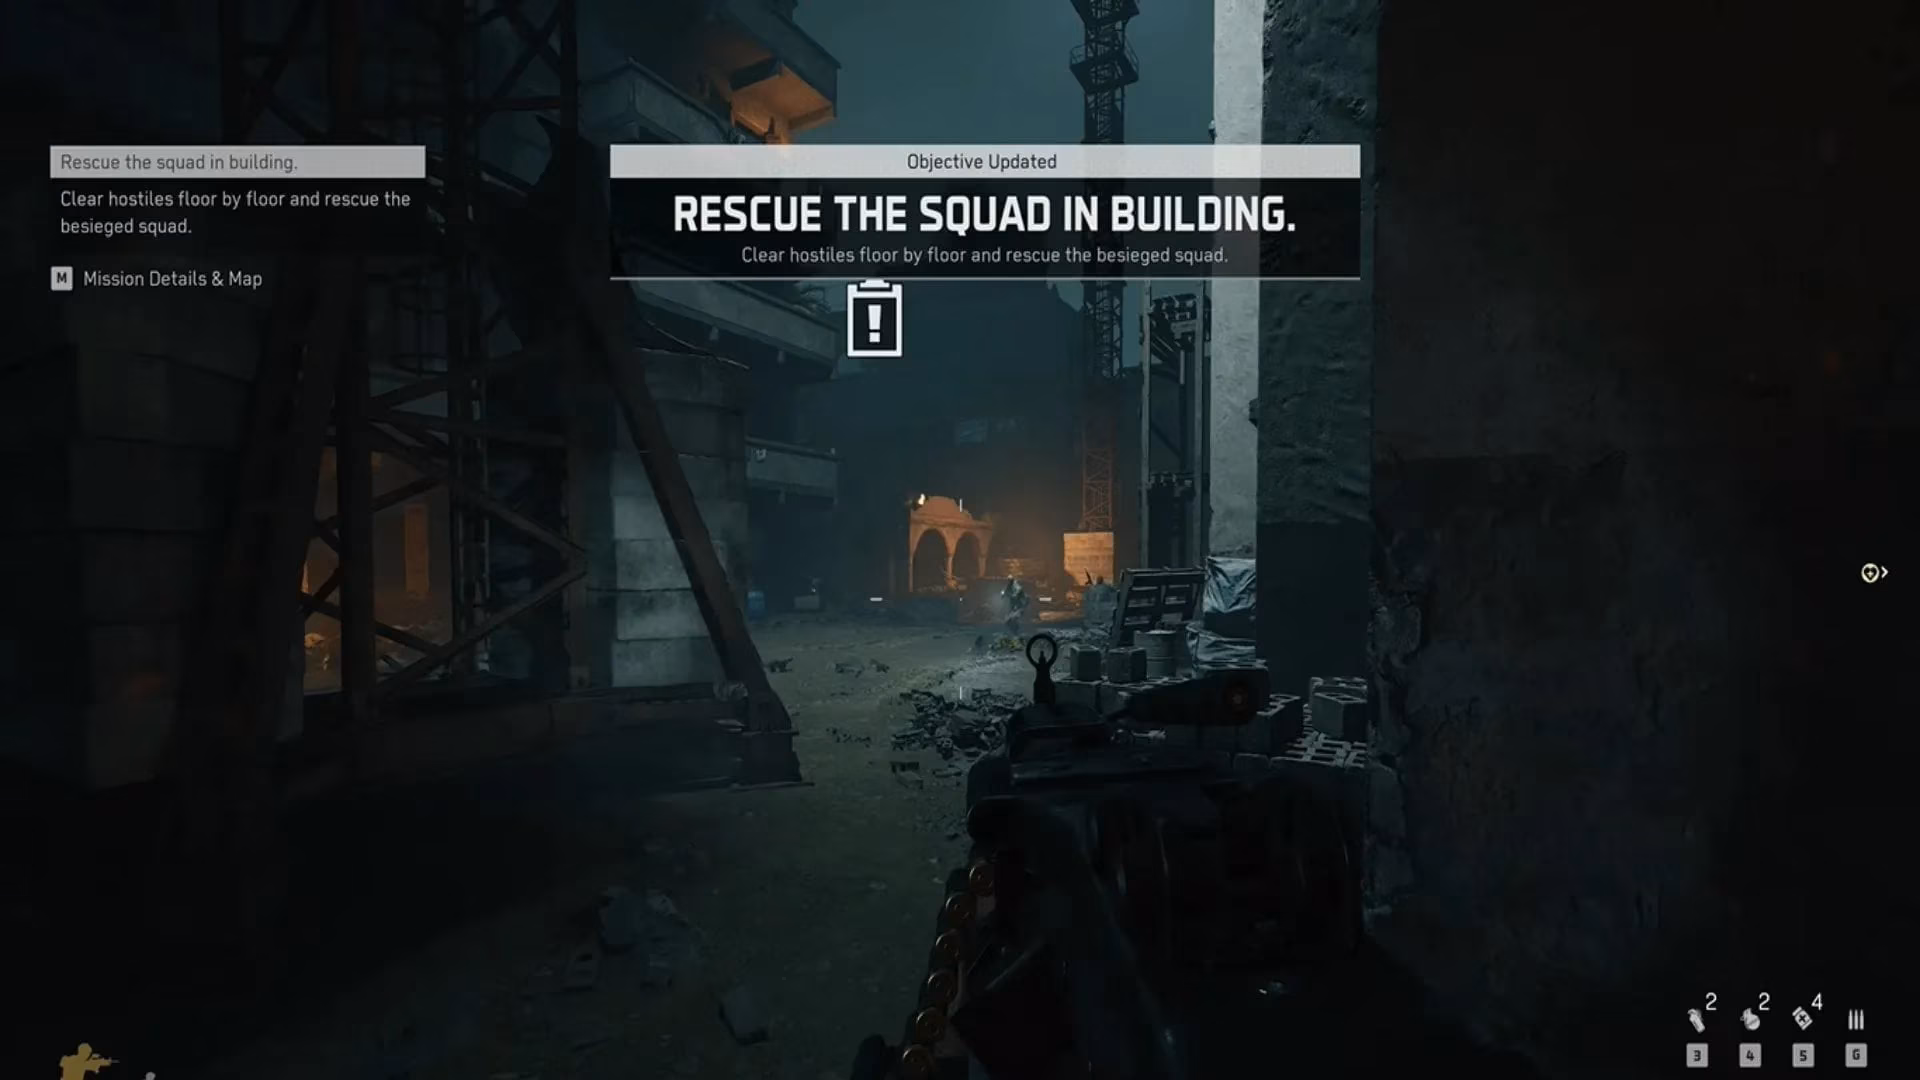
With the mortars silent, your new destination is a building complex about 45-50 meters away. This is where your brothers-in-arms are holding out. The reduced enemy presence on the way is a small mercy, but don't let your guard down. The real fight is just beginning.
The rescue phase is intense and vertical. As you approach the building, you'll learn the trapped team has been forced up to the roof. Your job is to fight your way to them, floor by floor. 🪜 Every staircase, every corridor, could be hiding hostiles. Clearing them thoroughly is essential not just for your survival, but for creating a safe corridor for the extraction.
Reaching the top floor is a triumph, but it's also where the mission reaches its peak intensity. The moment you link up with the team, heavy enemy fire will pour in from the windows of neighboring apartments. Your role shifts from assault to defense. You must provide covering fire while your squad escorts the rescued soldiers to safety.
-
Pro Tip: Don't just shoot back blindly. Use hand grenades! Tossing them into the enemy-held windows across the street can clear multiple hostiles at once and give your team the breathing room they need. 💣
-
Hold the Line: Keep the pressure on. Your sustained fire is the shield that allows the evacuation to proceed.

Once the immediate area is secure, the next step is to reinforce the rescued allies out on the streets. Follow your objective marker to a "Street Side" area. Here, strategy pays off. You can position yourself in a smaller apartment complex. Wait for the enemy to foolishly flood the building in pursuit, then eliminate them efficiently to complete this phase faster.
But the mission isn't over yet. You've rescued the team, but now you all need to get out alive. Your final objective is to return to the original crash site. This journey back is perilous, involving traversal across wide-open spaces where you're exposed. Stay healthy, conserve ammo, and pick off any patrols in your path.
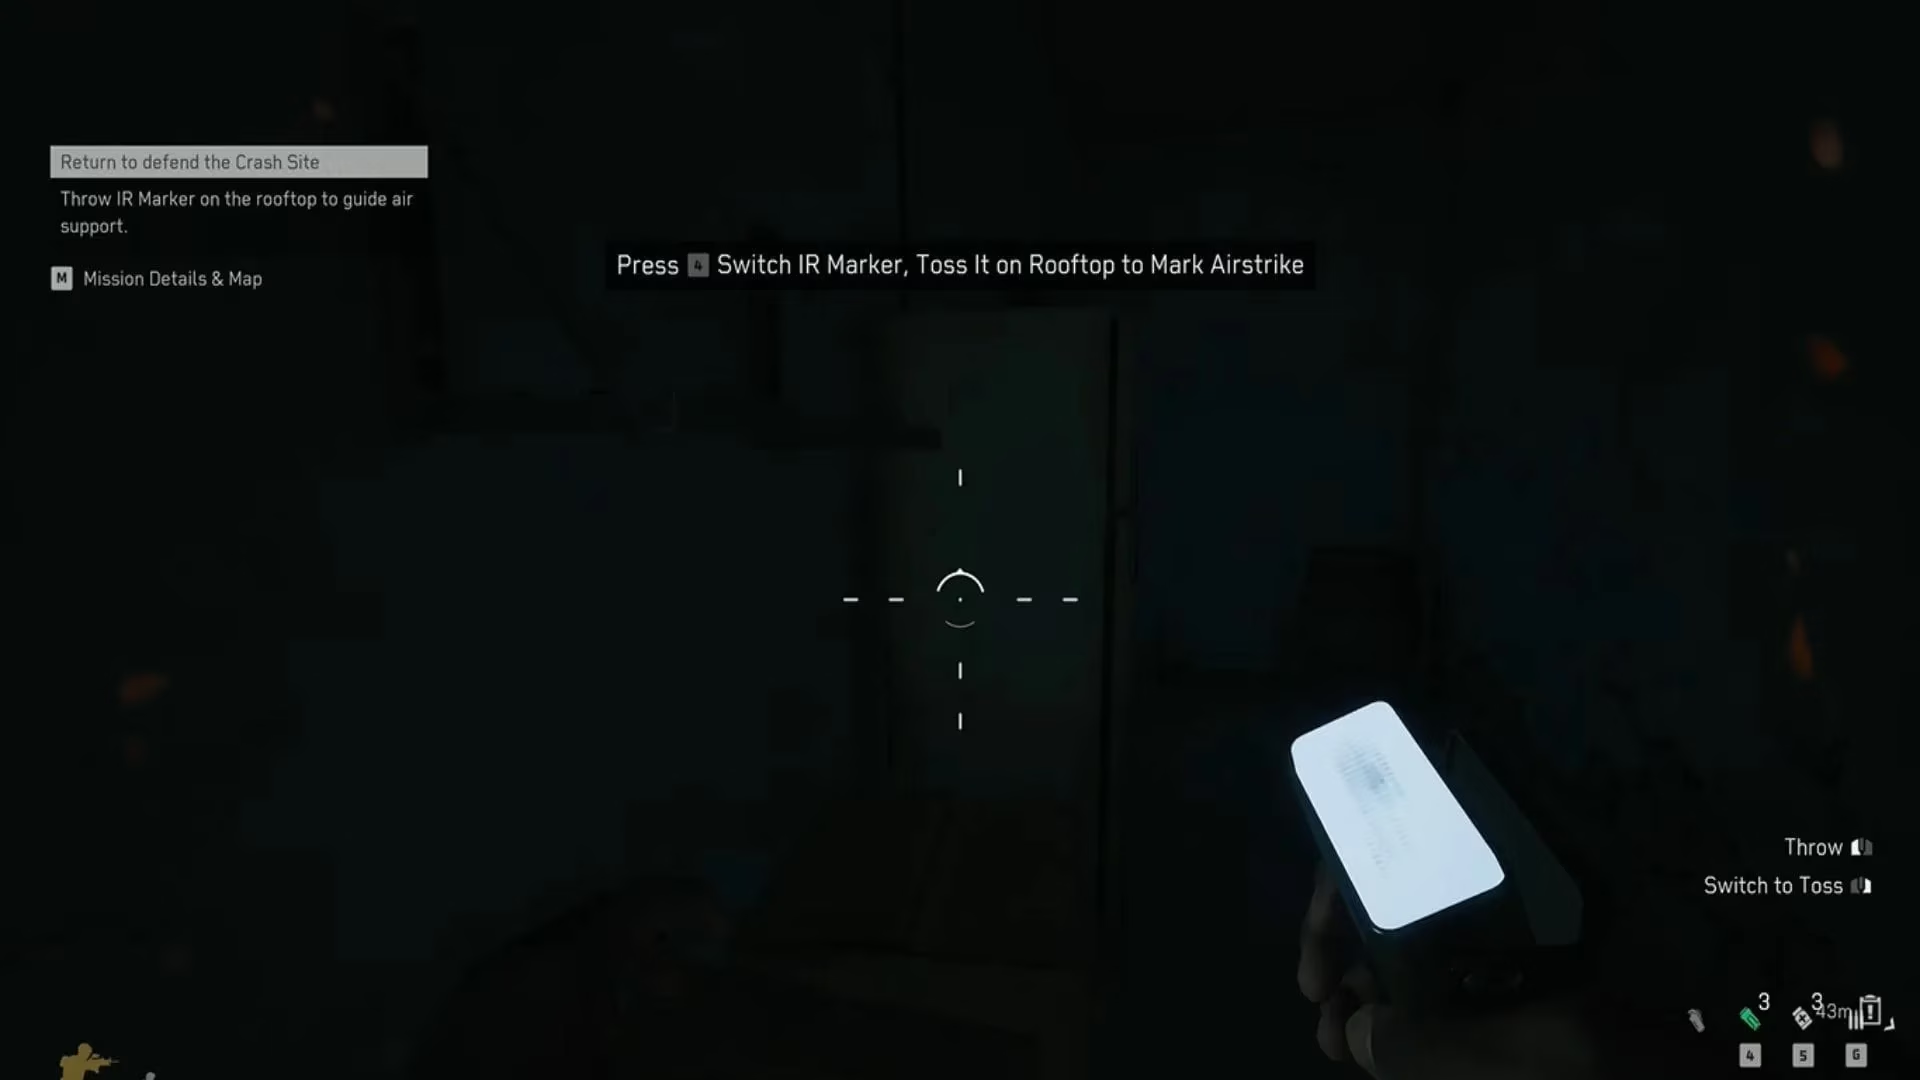
However, a major obstacle remains. A large, heavily fortified building will unleash devastating fire on your squad, making the final push impossible. You can't shoot your way through this one. You need to call in the big guns. 🛩️
Your solution is an airstrike. To coordinate it, you must retrieve an IR Marker from a designated spot. This is the climax of Chapter 6. You'll likely have to make a daring sprint towards the target building to get within throwing range. Under heavy fire, you must lob the IR Marker onto the roof of the enemy stronghold.
Success! ✅ The satisfying roar of jets and the subsequent explosion signal the end of the immediate threat. With the path cleared, your squad can finally exfiltrate. As you regroup at the crash site, Chapter 6 "N.S.D.Q" concludes—a mission of patience, precision, and relentless pressure, perfectly setting the stage for the campaign's final act. Remember, soldier: it's not just about pulling the trigger; it's about completing the objective. N.S.D.Q—Not So Damn Quiet, indeed. 🔥
The night in Mogadishu is anything but silent. Explosions echo through the ruined cityscape, casting long, jagged shadows. In Delta Force's campaign, Chapter 6 "N.S.D.Q" throws you right into the heart of this chaos. Your mission is a desperate rescue operation: a team of fellow soldiers is trapped, surrounded by hostile forces, and you're their only hope. This isn't a sprint; it's a tense, methodical crawl through enemy territory, blending long-range precision with close-quarters combat in the crumbling remains of a besieged city. As the second-to-last mission in the main co-op campaign, the stakes are higher than ever.
Your mission begins at a familiar, grim location: the helicopter crash site from a previous operation. 🚁💥 Surrounded by your squadmates, the first order of business is survival. Enemy mortar shells are raining down, making the open streets a death trap. Your path to safety leads through the skeletal frames of ruined apartment buildings. This initial push sets the tone: stay sharp, watch every window, and clear each room methodically.
-
First Contact: Inside the buildings, enemies will be waiting. They'll take potshots from windows and ambush you in dark hallways. Keep your weapon up and move carefully.
-
The Market Objective: Your initial goal is to reach an area called "Market." But getting there is only half the battle. Once you emerge into this open space, you'll be facing a plethora of enemies guarding a key asset. 😬
Approximately 130 meters away, nestled within the ruins, lies the source of your problems: enemy mortar positions. These weapons are pinning down both you and the team you need to rescue. You must push forward, eliminating the guards, to reach the apartment complex housing the mortar crews. The key is to get to the rooftop. Up there, you'll find the three operators manning the deadly tubes.
Neutralizing the mortar threat is non-negotiable. 🎯 This is a critical turning point. From your vantage point, you have a clear line of sight. Take them out with well-placed shots. Once the last operator falls, your objective updates. The path to your trapped allies is now (slightly) clearer.
With the mortars silent, your new destination is a building complex about 45-50 meters away. This is where your brothers-in-arms are holding out. The reduced enemy presence on the way is a small mercy, but don't let your guard down. The real fight is just beginning.
The rescue phase is intense and vertical. As you approach the building, you'll learn the trapped team has been forced up to the roof. Your job is to fight your way to them, floor by floor. 🪜 Every staircase, every corridor, could be hiding hostiles. Clearing them thoroughly is essential not just for your survival, but for creating a safe corridor for the extraction.
Reaching the top floor is a triumph, but it's also where the mission reaches its peak intensity. The moment you link up with the team, heavy enemy fire will pour in from the windows of neighboring apartments. Your role shifts from assault to defense. You must provide covering fire while your squad escorts the rescued soldiers to safety.
-
Pro Tip: Don't just shoot back blindly. Use hand grenades! Tossing them into the enemy-held windows across the street can clear multiple hostiles at once and give your team the breathing room they need. 💣
-
Hold the Line: Keep the pressure on. Your sustained fire is the shield that allows the evacuation to proceed.
Once the immediate area is secure, the next step is to reinforce the rescued allies out on the streets. Follow your objective marker to a "Street Side" area. Here, strategy pays off. You can position yourself in a smaller apartment complex. Wait for the enemy to foolishly flood the building in pursuit, then eliminate them efficiently to complete this phase faster.
But the mission isn't over yet. You've rescued the team, but now you all need to get out alive. Your final objective is to return to the original crash site. This journey back is perilous, involving traversal across wide-open spaces where you're exposed. Stay healthy, conserve ammo, and pick off any patrols in your path.
However, a major obstacle remains. A large, heavily fortified building will unleash devastating fire on your squad, making the final push impossible. You can't shoot your way through this one. You need to call in the big guns. 🛩️
Your solution is an airstrike. To coordinate it, you must retrieve an IR Marker from a designated spot. This is the climax of Chapter 6. You'll likely have to make a daring sprint towards the target building to get within throwing range. Under heavy fire, you must lob the IR Marker onto the roof of the enemy stronghold.
Success! ✅ The satisfying roar of jets and the subsequent explosion signal the end of the immediate threat. With the path cleared, your squad can finally exfiltrate. As you regroup at the crash site, Chapter 6 "N.S.D.Q" concludes—a mission of patience, precision, and relentless pressure, perfectly setting the stage for the campaign's final act. Remember, soldier: it's not just about pulling the trigger; it's about completing the objective. N.S.D.Q—Not So Damn Quiet, indeed. 🔥