Delta Force Warfare Mode Artillery Guide: How to Dominate with Fire Support
Delta Force Artillery Barrage unleashes battlefield dominance in Warfare mode, boosting challenge completion and tactical mastery.
Yo, what's up, Delta Force operatives? 2025 is here, and the meta in Delta Force's intense Warfare mode is still all about controlling the battlefield. Sure, you can run and gun with the best of them, but if you're not using the full arsenal at your disposal, you're basically playing with one hand tied behind your back. And let me tell you, nothing screams "I own this sector" quite like calling down a righteous rain of steel from the sky. I'm talking about the Artillery Barrage, folks. It's a total game-changer, yet so many players sleep on it or have no clue how to use it. That's a major L, especially since nailing those artillery strikes is often the key to completing event challenges and daily missions. So, buckle up, because today I'm breaking down everything you need to know to become an artillery god.
Step-by-Step: How to Call in the Thunder 🎯
Let's get straight to the point. The process is actually super simple once you know the buttons.
-
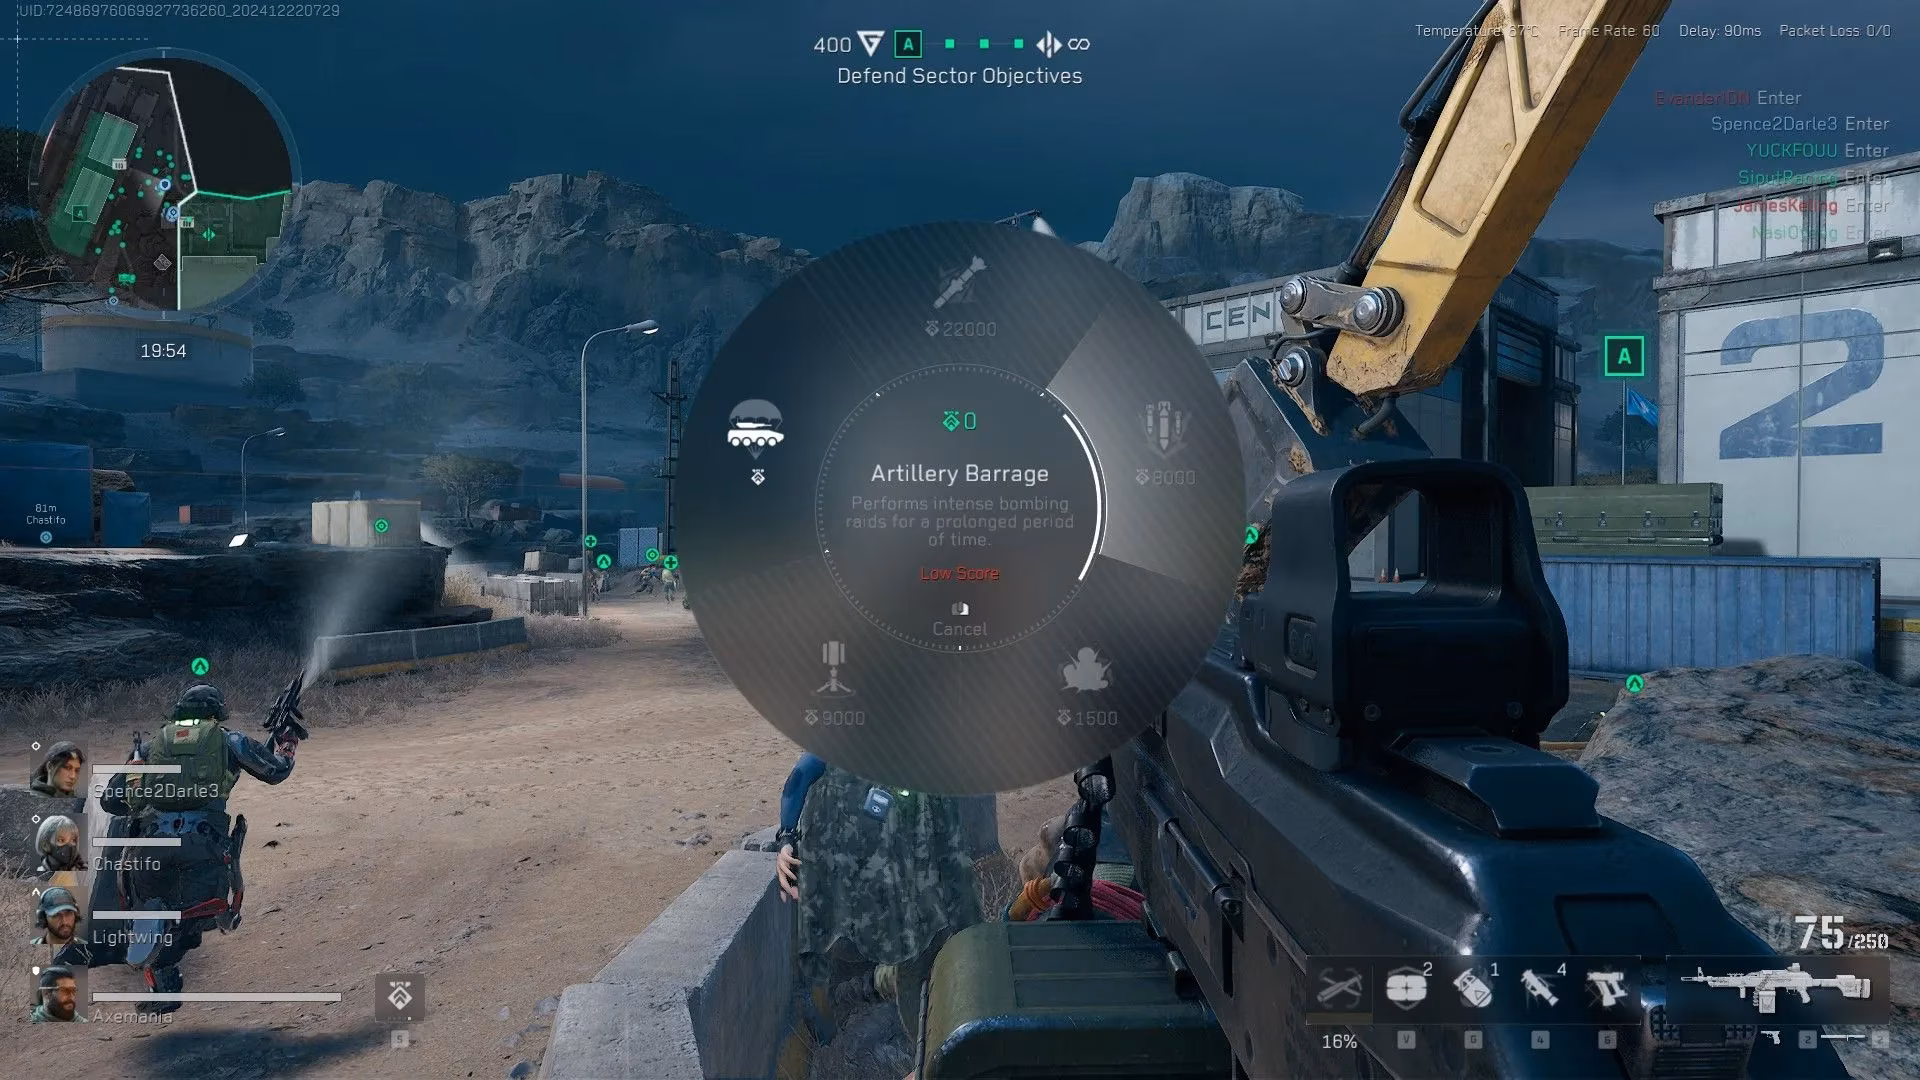
Summon the Menu: By default, you need to press and hold the '5' key on your keyboard. Don't just tap it; hold it down! This brings up the glorious support menu, your one-stop-shop for all things tactical.
-
Choose Your WMD: The menu is packed with goodies. You've got:
-
Smokescreen (for that tactical repositioning)
-
Vehicle Drop (need a ride?)
-
Team Respawn Beacon (the ultimate support move)
-
Cruise Missile (for when you need to delete a specific grid square)
-
And of course, our star of the show: Artillery Barrage.
-
-
Paint the Target: Select Artillery Barrage. Your operator will whip out a tactical tablet showing the map. Now, this is where strategy kicks in. Click on the exact spot where you want hell to rain down.
-
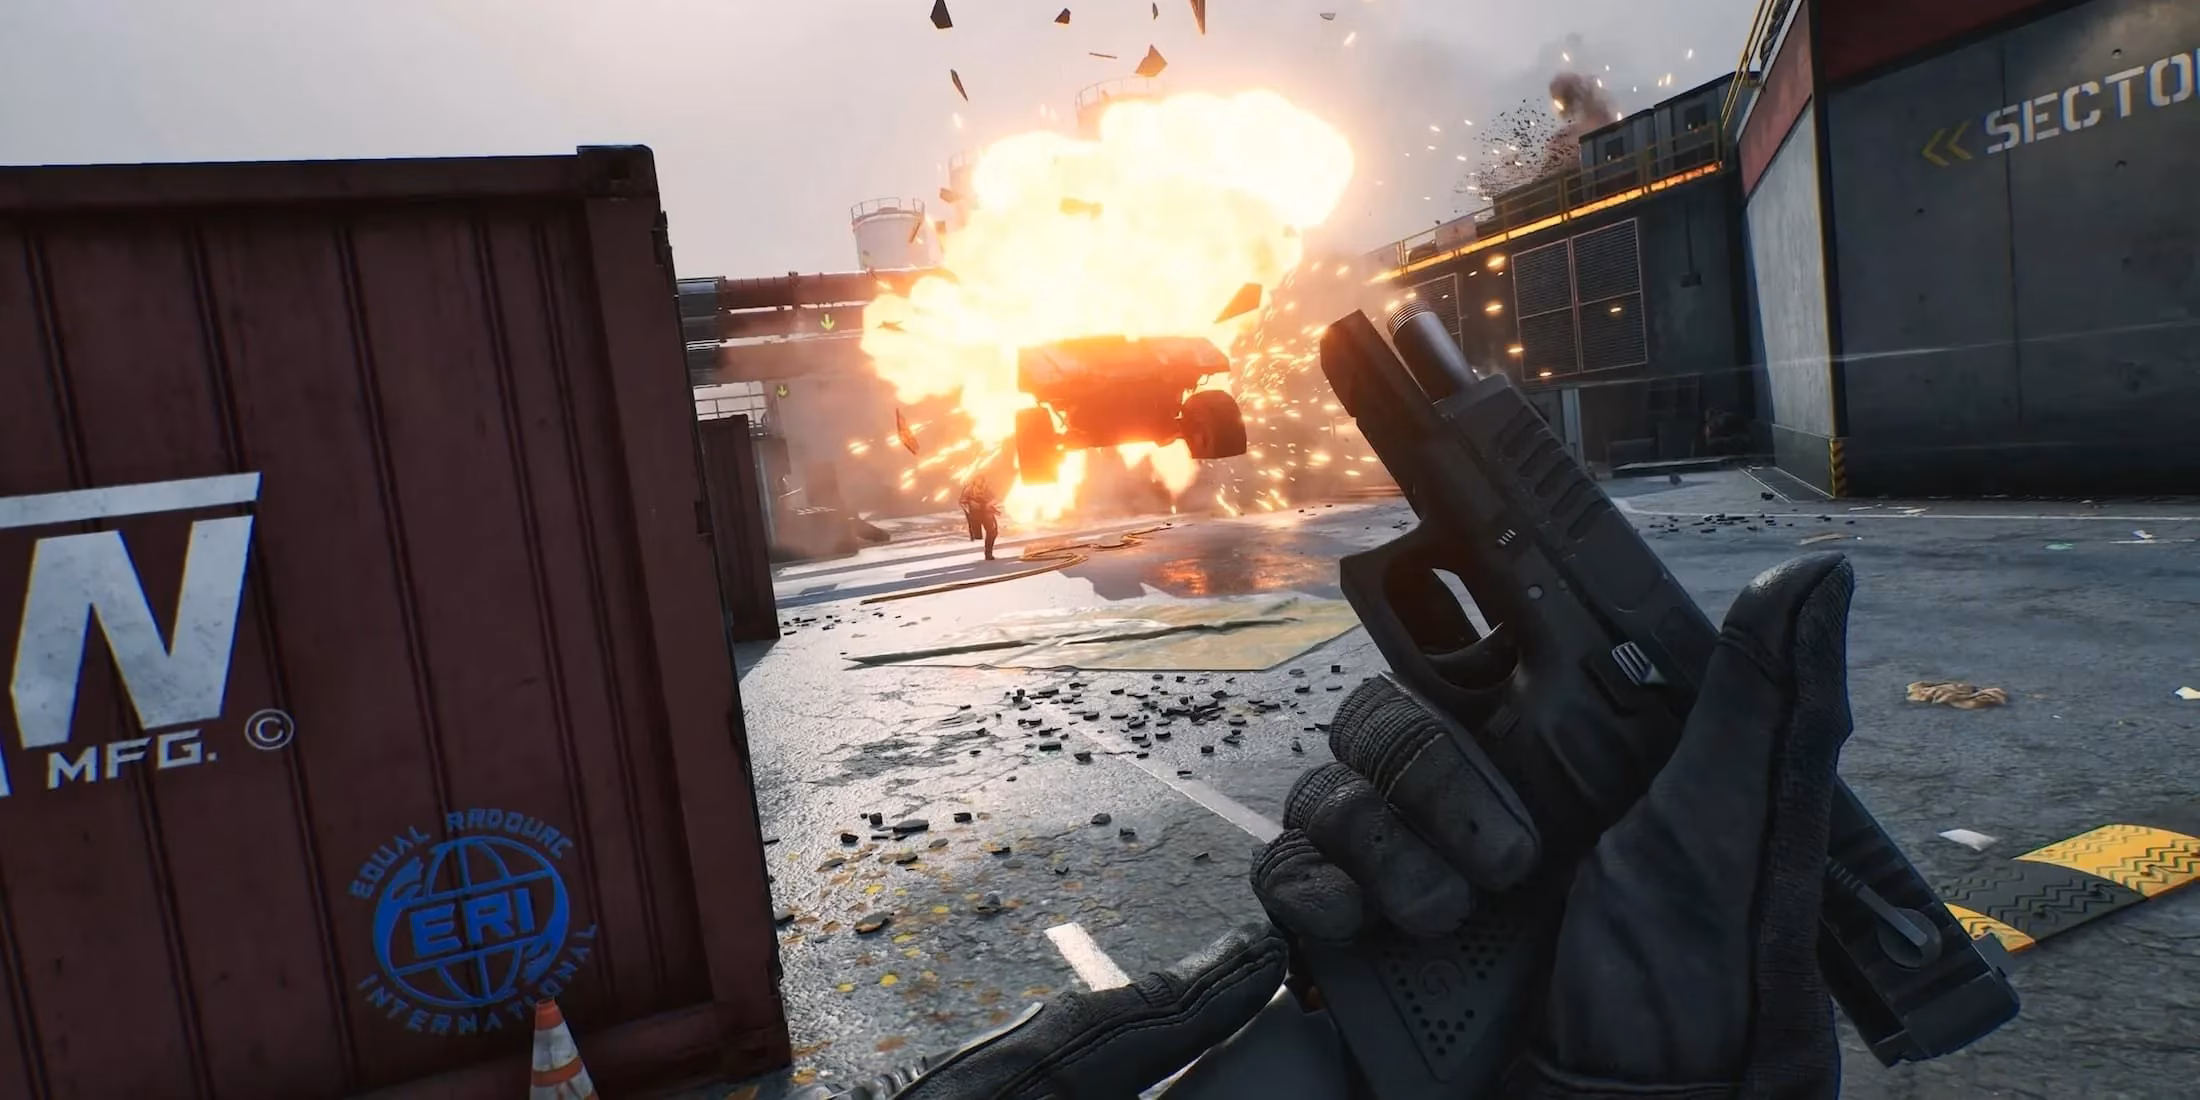
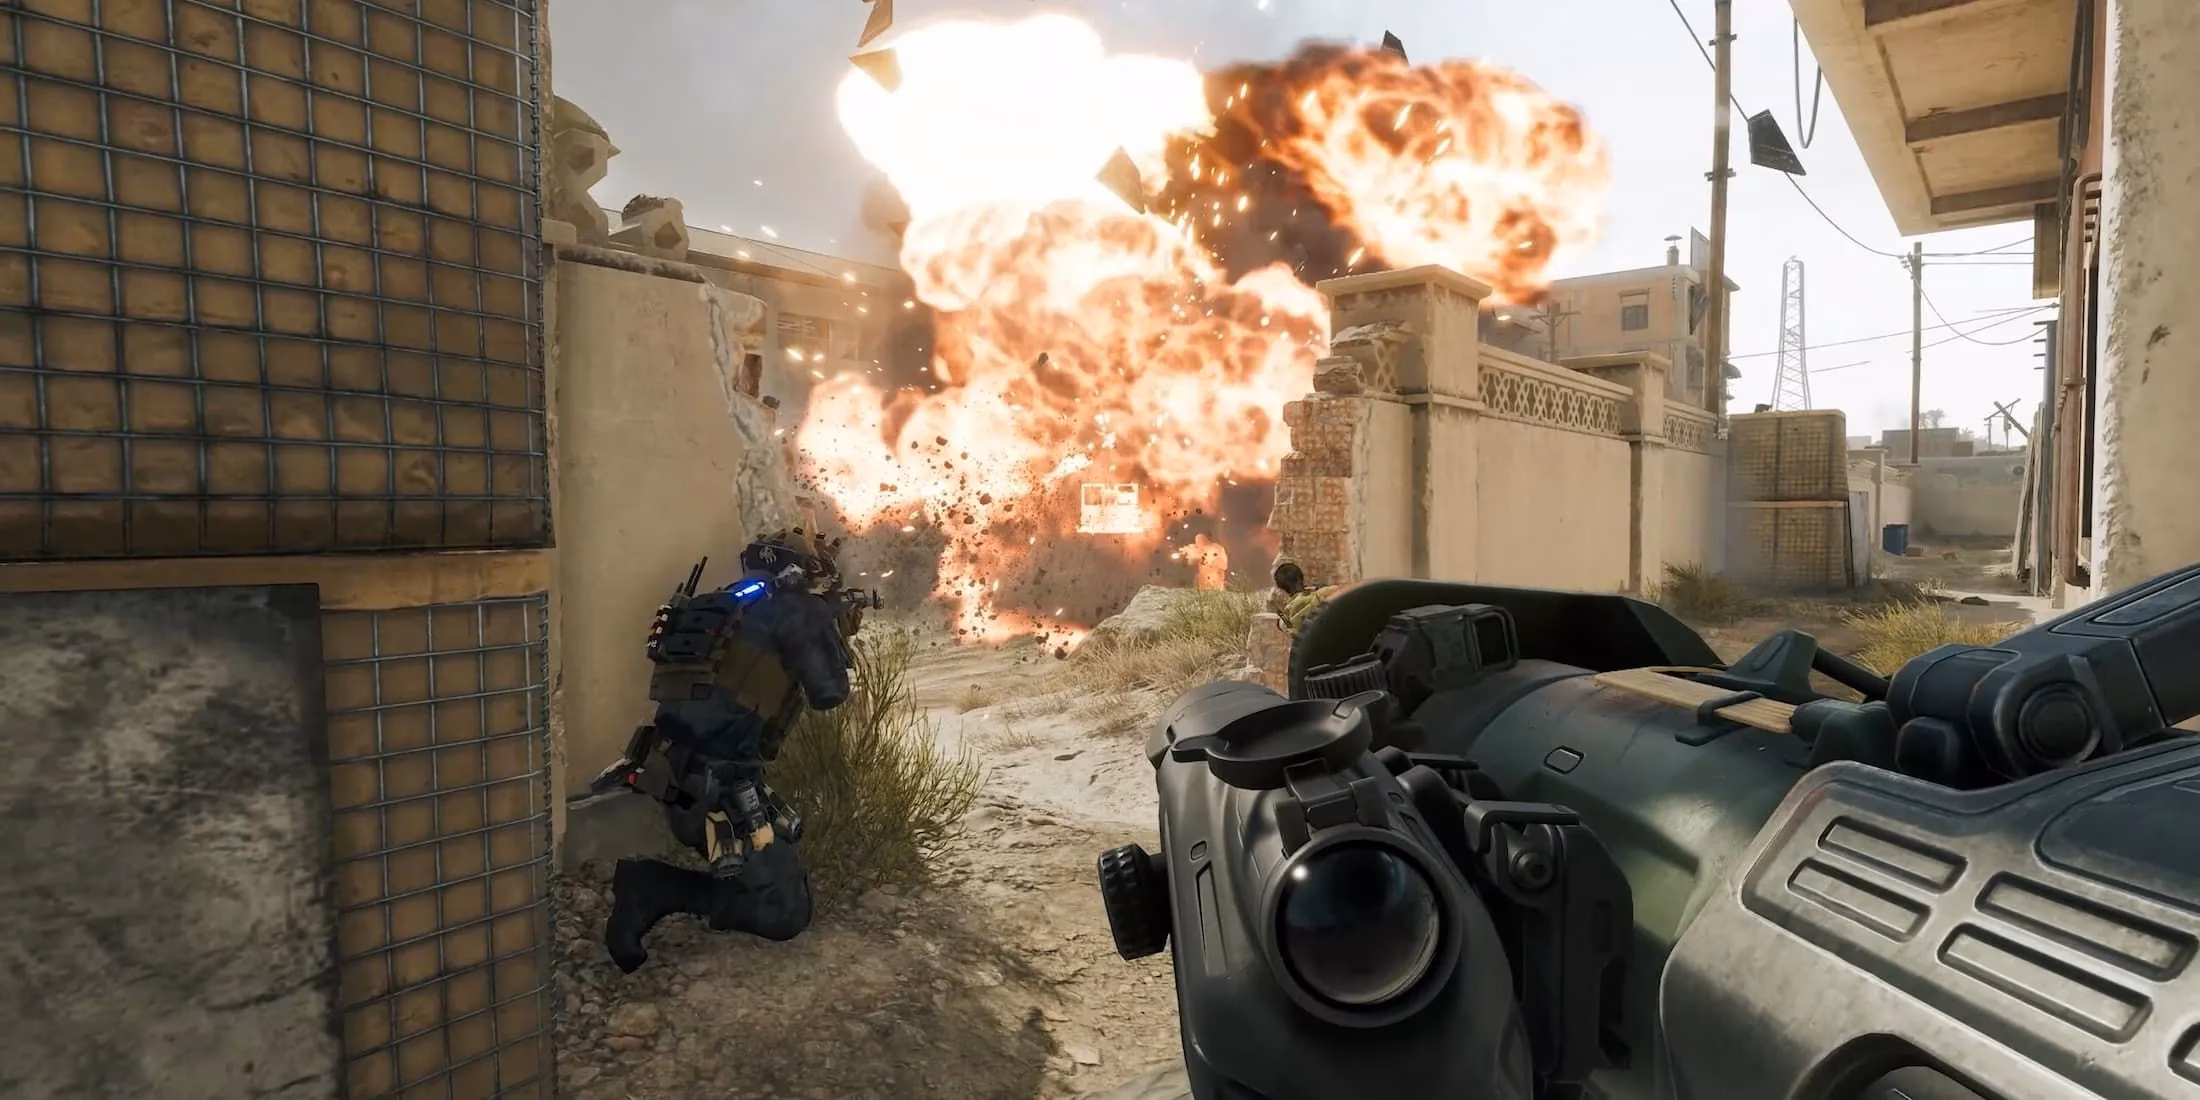
Enjoy the Fireworks: Confirm your selection, wait a few tense seconds for the call to go through, and then... BOOM! Shells start cratering the landscape you just painted. Any enemy caught in the open is gonna have a very, very bad day.
Pro-Tip / PSA: There's one HUGE caveat. Your fancy artillery is completely useless on underground maps like Shafted or the C sector of Ascension. I mean, you can't shell what you can't see, right? The roof's in the way! (Fun fact: Cruise Missiles still work underground somehow... don't ask me about the physics). So save your points for above-ground engagements.
The Grind: Earning Those Precious Points 💰
You can't just spam artillery for free, my dudes. You gotta earn the right to wield this power by racking up Support Points. The good news? Almost any positive action contributes.
| Action | Points Earned | Playstyle Fit |
|---|---|---|
| Capturing Objectives | High | All Roles |
| Assists & Kills | Medium/High | Assault, Recon |
| Healing / Reviving | High | Support (Meta!) |
| Resupplying Teammates | Consistent | Support (Meta!) |
| Spotting Enemies | Low/Medium | Recon |
If you want to farm points like it's your job (and honestly, it kinda is), the Support class is your best friend. Just follow the blob of your team, keep them healed, revived, and swimming in ammo. You'll be drowning in points without needing to frag out. It's the ultimate "/care" strategy.
But if you're an aggressive player who lives for the fight, you can still earn big. For Assault and Recon, the SG552 is a beast for securing kills and playing the objective. For Engineers holding the line, the PKM can mow down entire pushes, netting you tons of points. Find your flow and the points will follow.
Big Brain Barrage: Advanced Tactics for Maximum Impact 🧠
Okay, so you know how to call it in. But knowing where and when separates the noobs from the pros. Shelling the point your team is directly fighting on is... okay. It can clear defenders in a pinch. But it's basic, and you might even get some teamkills if you're not careful (oops!).
The real pro move is to use artillery to cut off enemy reinforcements and control the flow of the match. Think of the map like a funnel. You want to shell the chokepoints just behind the current frontline.
Why this works so well:
-
Disrupts Spawn Waves: You're hitting enemies the moment they leave their safe spawn area. They're disoriented, damaged, and easy pickings.
-
Stops Pushes Dead: It breaks up the enemy's formation as they try to advance. A coordinated push turns into a panicked scramble.
-
Creates Opportunities: While the enemy is dealing with your personal hailstorm, your team's snipers and flankers can move into perfect positions. They'll be spamming "Thanks!" in chat, trust me.
Imagine this: The enemy is trying to push B site. Instead of shelling B directly, you drop the barrage on the main route from their spawn to B. Now, their fresh troops are getting obliterated before they even reach the fight, and the guys already on point are suddenly isolated without backup. It's a classic "/outplayed" moment.
So there you have it! The Artillery Barrage isn't just a fancy explosion—it's a strategic tool for map control. Master the call-in, farm those points efficiently, and place your strikes with purpose. Once you start thinking like a commander and not just a shooter, you'll see your win rate skyrocket. Now get out there and make some noise! 💥
TL;DR: Hold '5', pick Artillery, click behind enemy lines, profit. Play Support for easy points. Don't use it underground. Be a strategist, not a spammer.
Yo, what's up, Delta Force operatives? 2025 is here, and the meta in Delta Force's intense Warfare mode is still all about controlling the battlefield. Sure, you can run and gun with the best of them, but if you're not using the full arsenal at your disposal, you're basically playing with one hand tied behind your back. And let me tell you, nothing screams "I own this sector" quite like calling down a righteous rain of steel from the sky. I'm talking about the Artillery Barrage, folks. It's a total game-changer, yet so many players sleep on it or have no clue how to use it. That's a major L, especially since nailing those artillery strikes is often the key to completing event challenges and daily missions. So, buckle up, because today I'm breaking down everything you need to know to become an artillery god.
Step-by-Step: How to Call in the Thunder 🎯
Let's get straight to the point. The process is actually super simple once you know the buttons.
-
Summon the Menu: By default, you need to press and hold the '5' key on your keyboard. Don't just tap it; hold it down! This brings up the glorious support menu, your one-stop-shop for all things tactical.
-
Choose Your WMD: The menu is packed with goodies. You've got:
-
Smokescreen (for that tactical repositioning)
-
Vehicle Drop (need a ride?)
-
Team Respawn Beacon (the ultimate support move)
-
Cruise Missile (for when you need to delete a specific grid square)
-
And of course, our star of the show: Artillery Barrage.
-
-
Paint the Target: Select Artillery Barrage. Your operator will whip out a tactical tablet showing the map. Now, this is where strategy kicks in. Click on the exact spot where you want hell to rain down.
-
Enjoy the Fireworks: Confirm your selection, wait a few tense seconds for the call to go through, and then... BOOM! Shells start cratering the landscape you just painted. Any enemy caught in the open is gonna have a very, very bad day.
Pro-Tip / PSA: There's one HUGE caveat. Your fancy artillery is completely useless on underground maps like Shafted or the C sector of Ascension. I mean, you can't shell what you can't see, right? The roof's in the way! (Fun fact: Cruise Missiles still work underground somehow... don't ask me about the physics). So save your points for above-ground engagements.
The Grind: Earning Those Precious Points 💰
You can't just spam artillery for free, my dudes. You gotta earn the right to wield this power by racking up Support Points. The good news? Almost any positive action contributes.
| Action | Points Earned | Playstyle Fit |
|---|---|---|
| Capturing Objectives | High | All Roles |
| Assists & Kills | Medium/High | Assault, Recon |
| Healing / Reviving | High | Support (Meta!) |
| Resupplying Teammates | Consistent | Support (Meta!) |
| Spotting Enemies | Low/Medium | Recon |
If you want to farm points like it's your job (and honestly, it kinda is), the Support class is your best friend. Just follow the blob of your team, keep them healed, revived, and swimming in ammo. You'll be drowning in points without needing to frag out. It's the ultimate "/care" strategy.
But if you're an aggressive player who lives for the fight, you can still earn big. For Assault and Recon, the SG552 is a beast for securing kills and playing the objective. For Engineers holding the line, the PKM can mow down entire pushes, netting you tons of points. Find your flow and the points will follow.
Big Brain Barrage: Advanced Tactics for Maximum Impact 🧠
Okay, so you know how to call it in. But knowing where and when separates the noobs from the pros. Shelling the point your team is directly fighting on is... okay. It can clear defenders in a pinch. But it's basic, and you might even get some teamkills if you're not careful (oops!).
The real pro move is to use artillery to cut off enemy reinforcements and control the flow of the match. Think of the map like a funnel. You want to shell the chokepoints just behind the current frontline.
Why this works so well:
-
Disrupts Spawn Waves: You're hitting enemies the moment they leave their safe spawn area. They're disoriented, damaged, and easy pickings.
-
Stops Pushes Dead: It breaks up the enemy's formation as they try to advance. A coordinated push turns into a panicked scramble.
-
Creates Opportunities: While the enemy is dealing with your personal hailstorm, your team's snipers and flankers can move into perfect positions. They'll be spamming "Thanks!" in chat, trust me.
Imagine this: The enemy is trying to push B site. Instead of shelling B directly, you drop the barrage on the main route from their spawn to B. Now, their fresh troops are getting obliterated before they even reach the fight, and the guys already on point are suddenly isolated without backup. It's a classic "/outplayed" moment.
So there you have it! The Artillery Barrage isn't just a fancy explosion—it's a strategic tool for map control. Master the call-in, farm those points efficiently, and place your strikes with purpose. Once you start thinking like a commander and not just a shooter, you'll see your win rate skyrocket. Now get out there and make some noise! 💥
TL;DR: Hold '5', pick Artillery, click behind enemy lines, profit. Play Support for easy points. Don't use it underground. Be a strategist, not a spammer.